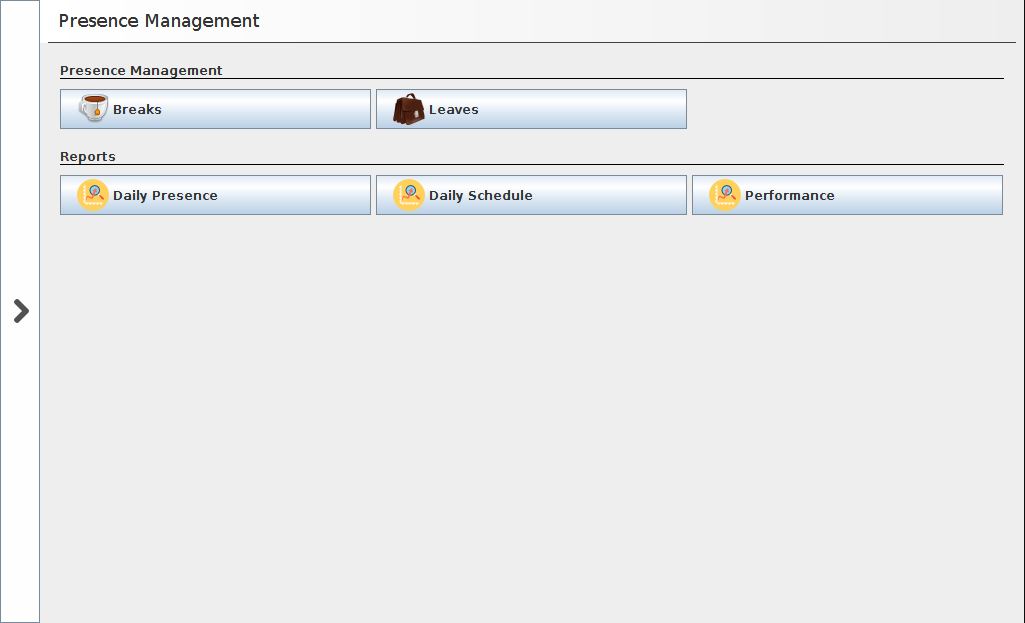
Introduction
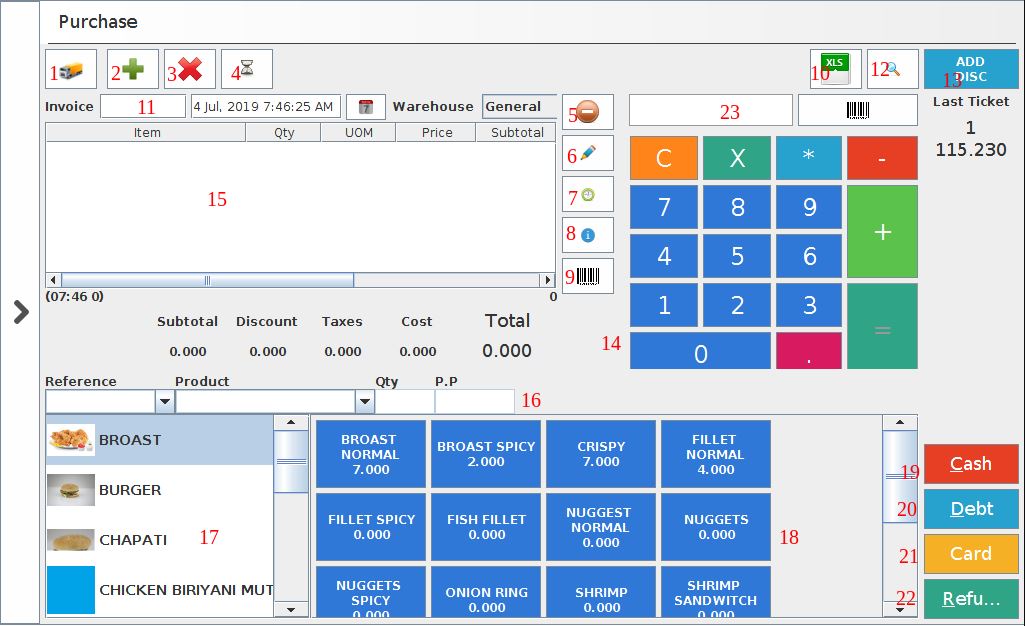
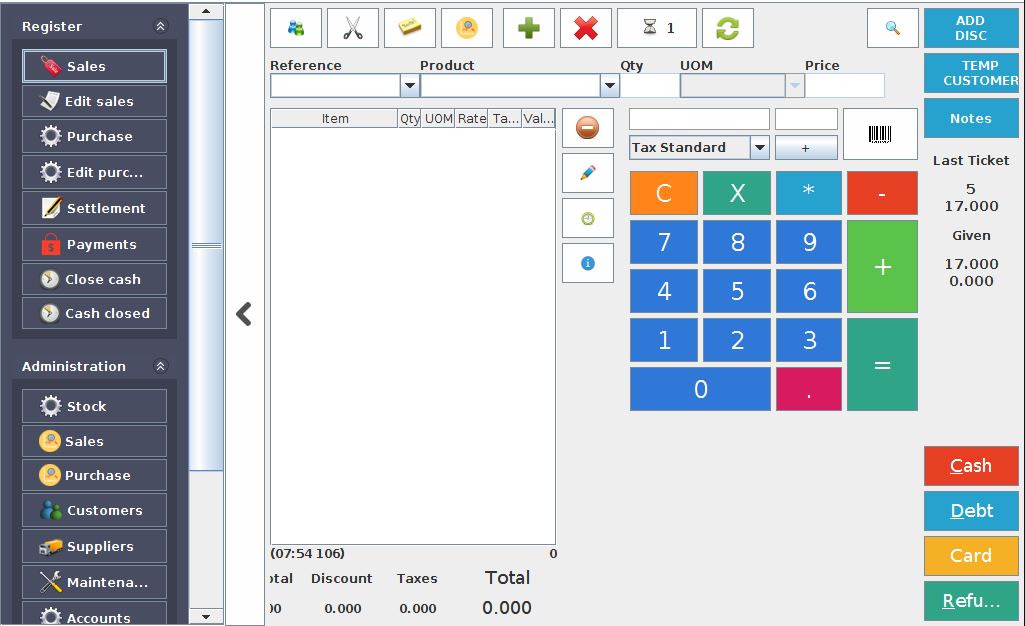
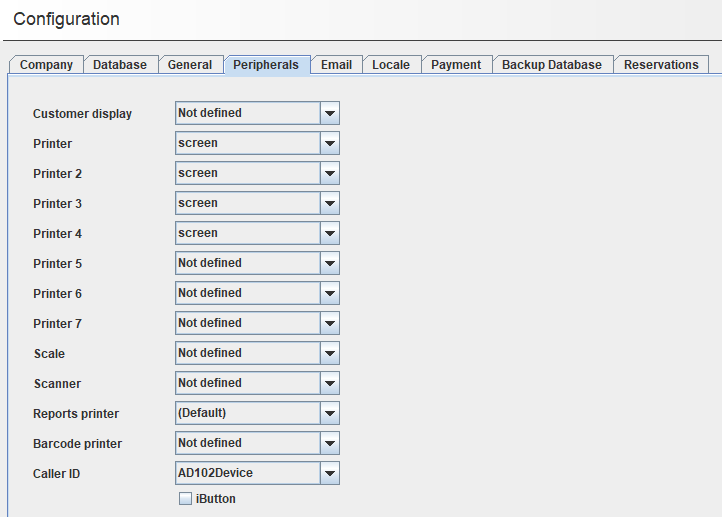
Sales window is one of the complicated screen in POS. When we login, sales window will be the home screen. It can be configured for different business cases. You can change the configuration of sales window mode through menu System → Configuration → General, using the tickets drop down. In this article we will be explaining different functionalities of sales window in store mode.
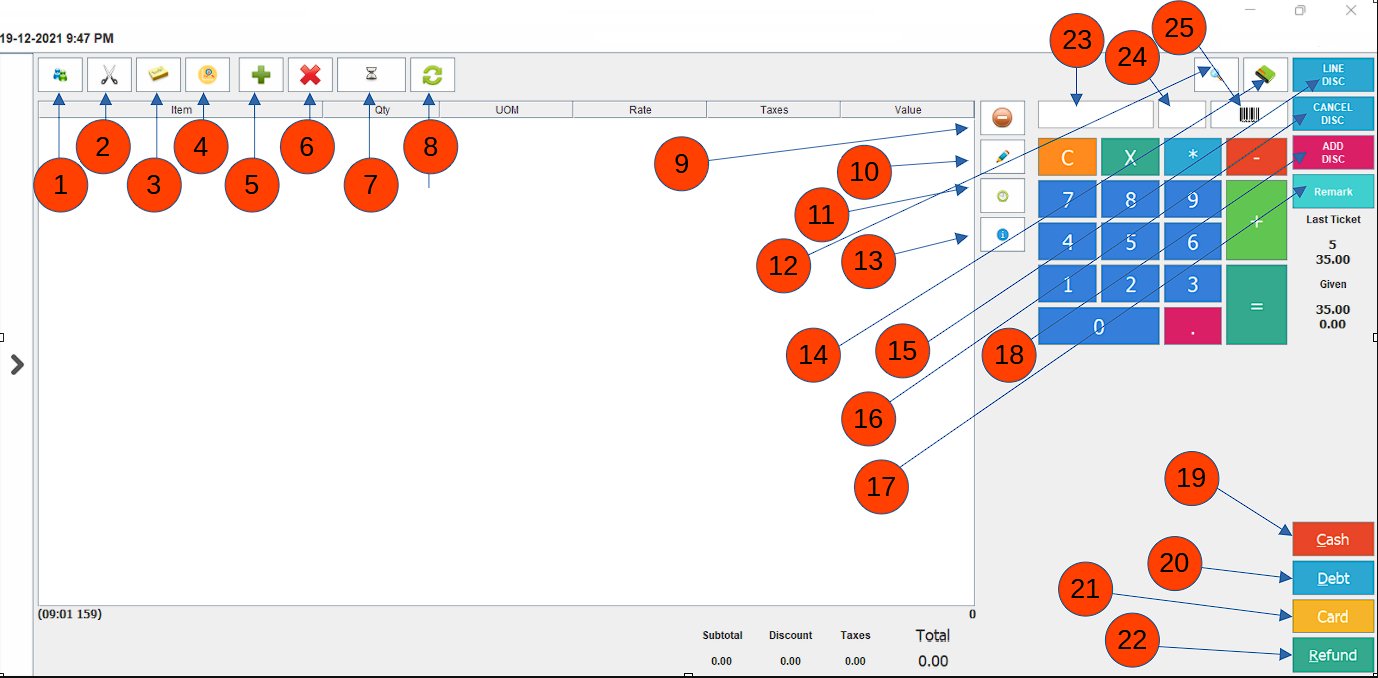
Descriptions
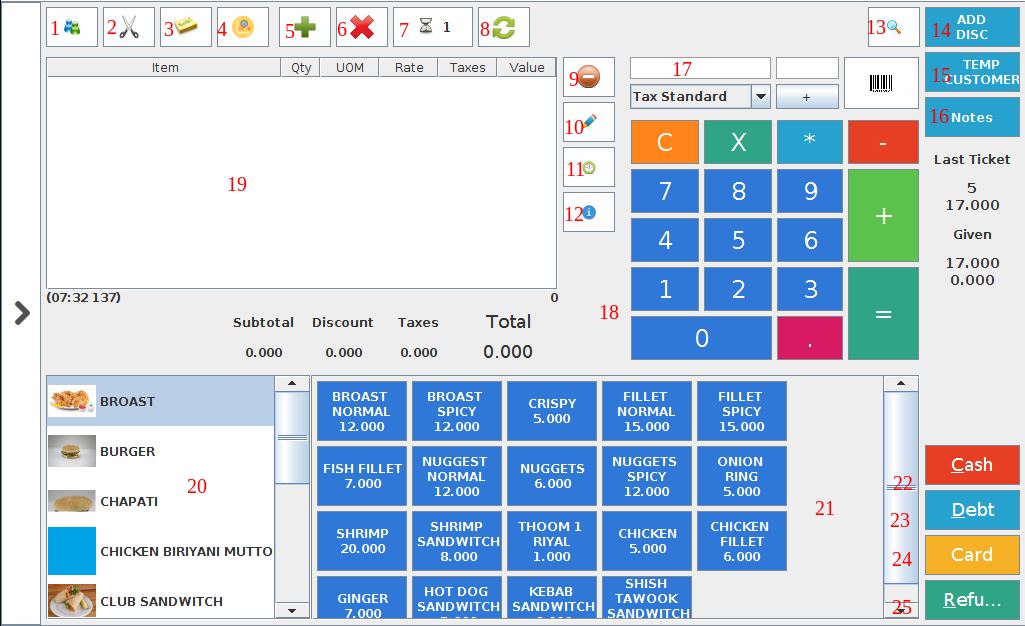
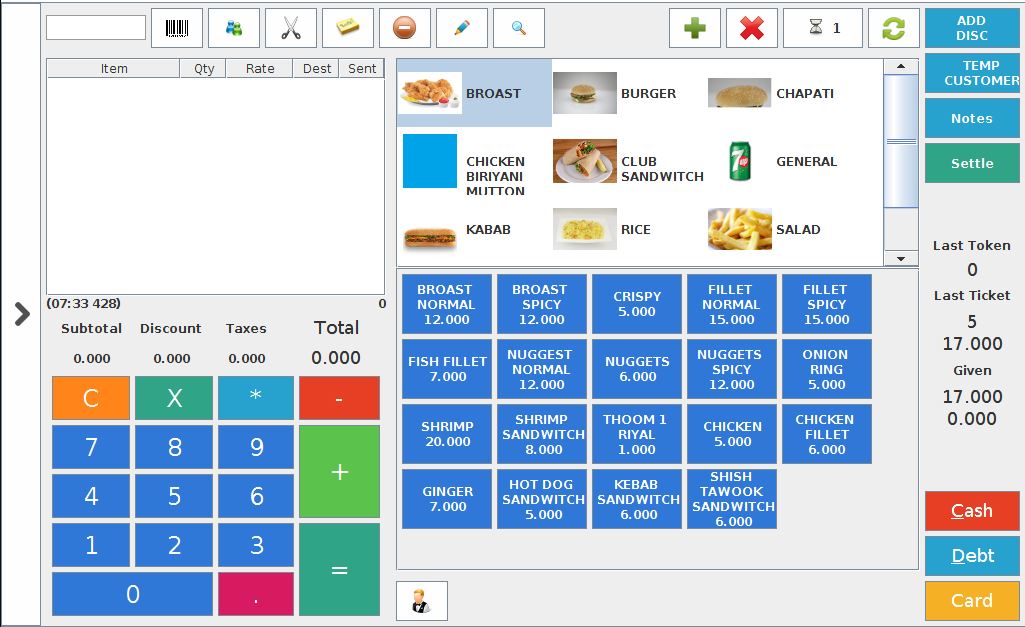
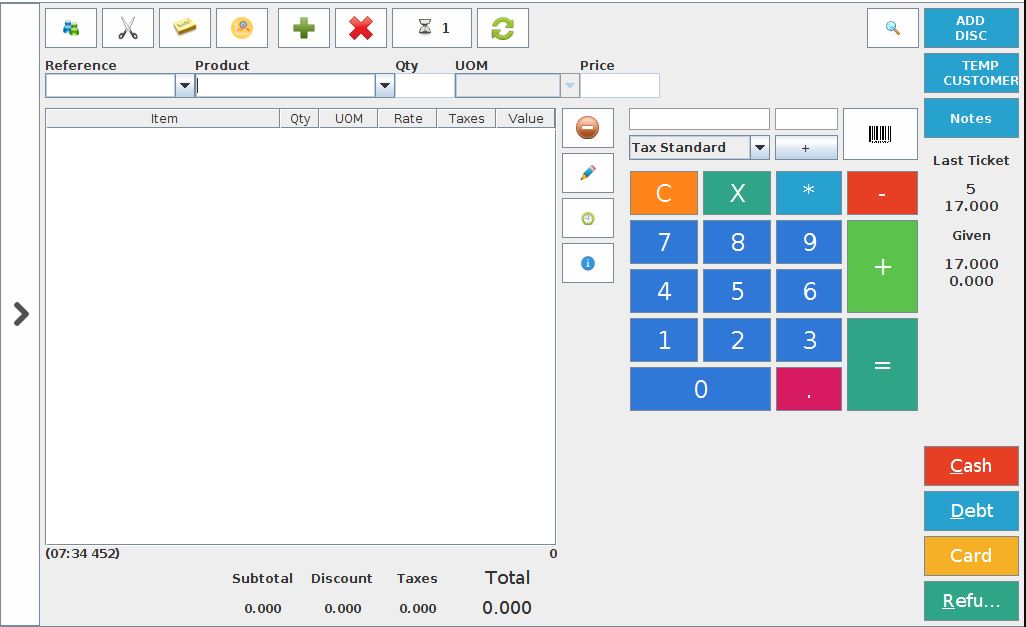
| ID | Field name | Description |
| 1 | Add customer | To attach details of the customer to the sales |
| 2 | Split bill | To split the bill into 2. You can also assign the new bills customer details in the window |
| 3 | Notes | Adding notes to a selected line item (An item in the sale) |
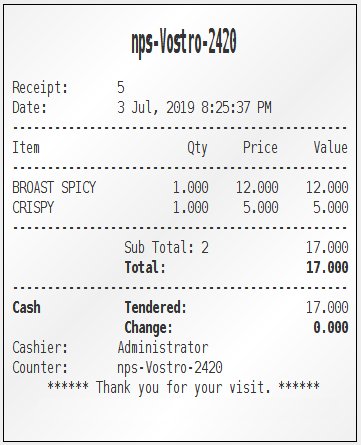
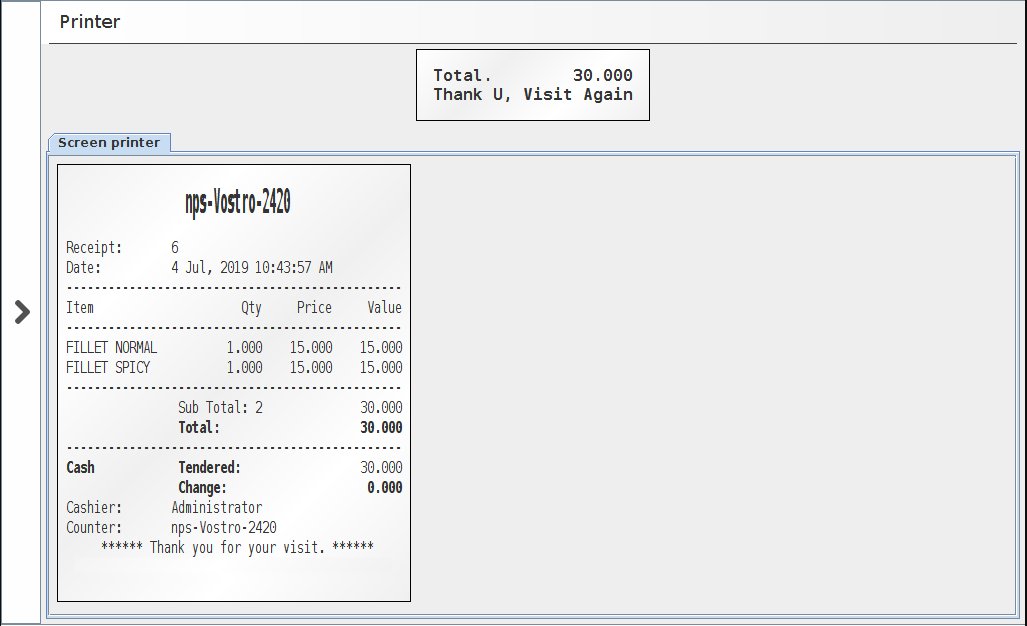
| 4 | Reprint last ticket | To print the last ticket |
| 5 | New sales | This action mill put current sales on hold and a new sales will start. You will be asked to enter the details of existing customer. You can resume the sales by clicking button 7. This is helpful if you want to put current sales on hold for sometime and move to next customer |
| 6 | Cancel sales | This will cancel the current sale |
| 7 | Ticket queue | All tickets on hold will be displayed here. Read item 5 for more info. |
| 8 | Reload | Reload the current screen |
| 9 | Delete line | This will delete selected line. |
| 10 | Edit Line | To edit a particular line |
| 11 | Product history | Display the sales as well as purchase history of the selected item. |
| 12 | Search product | To search for a product and add to the sales. |
| 13 | Attributes | Displays more details on the item. |
| 14 | Order list | |
| 15 | Line Disc | Adding discount to the selected item |
| 16 | Cancel Disc | Remove discount from selected item |
| 17 | Remark | To add some text to the bill |
| 18 | Add disc | Adding discount against the bill |
| 19 | Cash | Press for payment in cash |
| 20 | Debt | If payment is in the form of credit. You will be asked to enter credit customer details |
| 21 | Card | Press if payment is done through card |
| 22 | Refund | press in case of refund |
| 23 | Barcode | These fields are used for barcode scanning purpose. You can also manually by using barcode number |
| 24 | ||
| 25 |